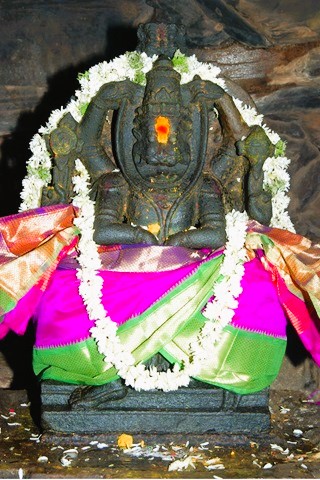
The Sanctum Idol
Eight-armed, fierce form, with Hiranyakashipu across his lap
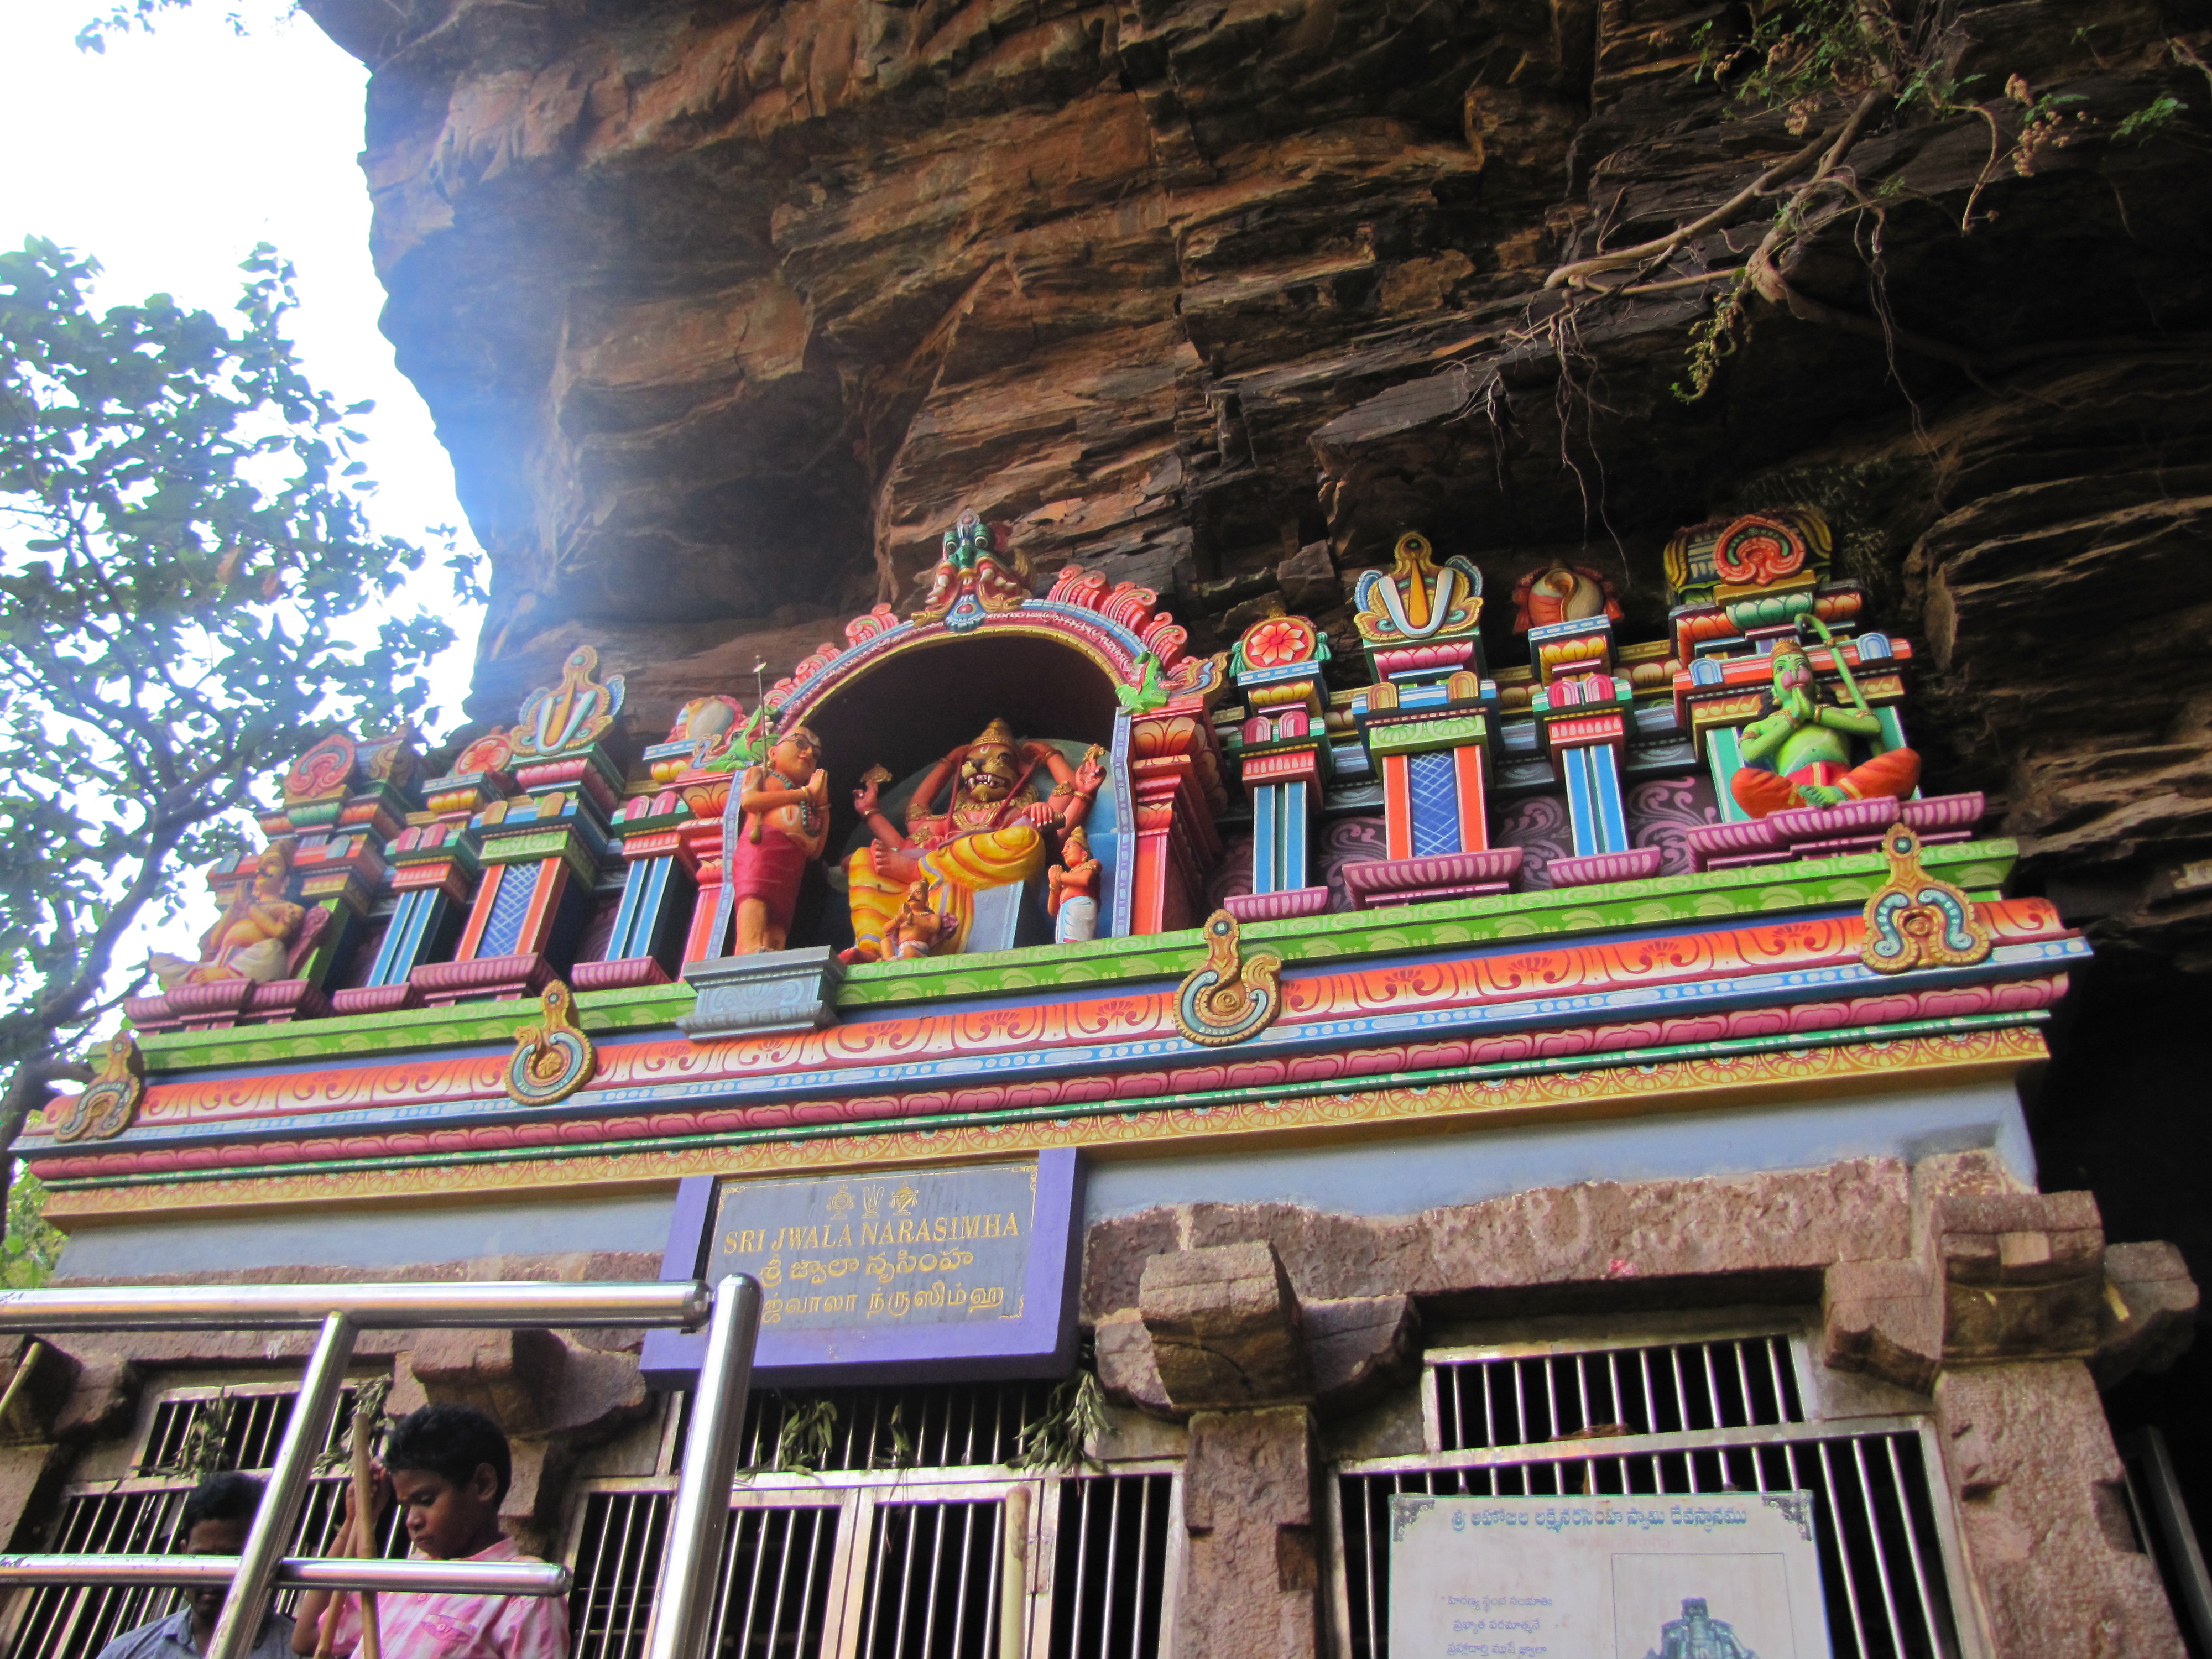
The Temple View
Set deep within Upper Ahobilam's forest, beside a waterfall
Of the nine forms of Lord Narasimha at Ahobilam, Jwala Narasimha is the most fiery — "Jwala" meaning flame — depicting the very moment the Lord tore into the demon king Hiranyakashipu. Many devotees consider it the most significant of the nine shrines.
Jwala Narasimha is worshipped here in his most terrifying manifestation — an eight-armed form shown with Hiranyakashipu laid across his lap, capturing the exact instant the Lord tore open the demon king's chest to end his tyranny and protect the devotee Prahlada.
Tradition holds that after the Devas witnessed this half-lion, half-man form erupt from the pillar in the palace of Hiranyakashipu, they exclaimed "Ahobala" — meaning "what great strength" — giving the entire kshetram its name. Jwala Narasimha's shrine, set inside a rock cave in the forest, is considered by many pilgrims to be the spiritual heart of that story.
Reaching Jwala Narasimha is a trek in its own right — crossing the Bhavanasini river, climbing a long flight of stone steps, and passing a waterfall before the shrine comes into view.
Begin from the main Ahobila Narasimha (Ugra Narasimha) temple, the earliest and principal shrine of the nine.
The path crosses the river that flows through the forest, feeding several of the temple's sacred tanks downstream.
A long, well-laid staircase — several hundred steps by some counts, with a notably steep final stretch — leads up through the forest.
A scenic waterfall near the summit offers a natural resting point, with panoramic views back over the forest.
The shrine sits just past a short tunnel-like passage, nestled beneath the Ugra Stambham rock formation above.
For those with the time, fitness, and a good guide, the trail continues from Jwala Narasimha up to Ugra Stambham — a natural rock pillar regarded as the very spot from which Lord Narasimha emerged. This final stretch is widely considered the toughest trek in all of Ahobilam: a steep, largely step-free rock climb often done with the help of a rope.
The climb is exposed to strong sun with little shade — an early start keeps the trek far more comfortable.
There are no shops beyond the Upper Ahobilam base, so bring more water than you think you'll need.
The path beyond Jwala Narasimha to Ugra Stambham is narrow, steep, and easy to misjudge without local knowledge.
Explore the other eight forms of Lord Narasimha, or review travel tips before setting out on your trek.